WordPress plugins are like magic wands for your website. They allow you to add features, enhance functionality, and even change the entire look of your site without touching the core WordPress files. Think of them as customizable tools that empower you to create a unique and dynamic website.
But why would you want to create your own WordPress plugin? Maybe you have a specific need that existing plugins don’t meet, or perhaps you want to build something unique to your brand. Whatever the reason, creating a custom plugin gives you the freedom to tailor your website to your exact needs.
Don’t worry! You don’t have to be a coding genius for creating your first WordPress plugin. You can build something amazing with some basic knowledge and the right guidance. And that’s what this guide is all about. We’ll know how to create a WordPress plugin step by step.
What Is a Plugin?
Plugins are the building blocks of your WordPress site. They allow you to customize and extend your website without altering the core code. Whether you want to add a photo gallery, improve site speed, or even start a podcast, there’s likely a plugin for that. The possibilities are virtually endless, and the best part? You don’t have to be a tech wizard to use them.
Let’s take a look at a classic example: the “Hello Dolly” plugin. It’s a simple plugin consisting of a single PHP file, but it’s a great illustration of what a plugin can do.

“Hello Dolly” adds a random lyric from the song “Hello, Dolly!” to the top of your WordPress admin screen. It’s a small touch, but it brings a smile to many users’ faces.
Why is this plugin significant? Because it shows that plugins don’t have to be complex to be effective. Even a simple piece of code can enhance the user experience.
How to Create a WordPress Plugin: Step-by-Step Guide to WordPress Plugin Development
Here’s a golden rule in WordPress development: Don’t touch the core files! Why? Because WordPress updates these files regularly. Any changes you make will be overwritten, and you could end up breaking your site.
Instead, all the magic happens in plugins. They allow you to extend WordPress’s functionality without risking your site’s core stability. It’s like adding accessories to your car without messing with the engine.
Learn more about WordPress core here.
Step 1: Setting Up Your Development Environment
Choosing a Text Editor
Before you start crafting your plugin, you’ll need a text editor. This is where you’ll write and edit your code. There are many text editors out there, from the simple Notepad to more advanced ones like Visual Studio Code or Sublime Text. Choose one that feels comfortable for you.
Setting Up a Local WordPress Installation
Next, you’ll want to set up a local WordPress installation. This means you’ll be running WordPress on your own computer, not on a live website. It’s like having a private playground where you can experiment without affecting real users.
There are several tools to help you set up a local environment, such as MAMP, XAMPP, or Local by Flywheel. These tools make it easy to run WordPress on your computer, so you can develop and test your plugin safely.
And if you are about to develop it on a live site, you’ll need to download the plugin folder from your SFTP client.
Learn how to set up a local WordPress installation here.

Step 2: Creating Your Plugin File
Writing the Plugin Header
Creating your own plugin starts with writing a plugin header. Think of this as the birth certificate for your plugin. It tells WordPress the name of your plugin, who created it, and what it does.
Here’s an example of what a plugin header might look like:
<?php
/**
 * Plugin Name: My Awesome Plugin
 * Plugin URI: http://example.com
 * Description: This plugin adds awesomeness to your site.
 * Version: 1.0
 * Author: Your Name
 * Author URI: http://example.com
 */
?>
This code goes at the very beginning of your plugin file and provides essential information to WordPress.
Learn more about writing plugin headers here.
Writing Basic PHP Functions
Now, it’s time to write the PHP functions that will power your plugin. Let’s say you want to create a plugin that adds a special greeting to your posts. Here’s a simple example:
function my_greeting() {
    echo 'Welcome to my website!';
}
add_action('the_content', 'my_greeting');
This code creates a function called my_greeting that echoes a welcome message. The add_action line tells WordPress to add this greeting to the content of your posts.
You should also read the Plugin API. It has a variety of functions that can help you in developing plugins.
Bringing Your Plugin to Life
Creating a main plugin file and writing basic functions is like building the foundation of a house. You’ve laid the groundwork and are now ready to start constructing the walls, floors, and roof.
Remember, your plugin can be as simple or as complex as you need it to be. Whether you’re adding a small feature or building a full-fledged application, the process starts here.
Take your time, experiment, and don’t be afraid to ask for help. The WordPress community is full of developers who are ready to lend a hand.
Step 3: Utilizing Hooks
What Are Action Hooks?
Action hooks are like command centers in WordPress. They allow you to “hook” your custom code into specific parts of WordPress, triggering your code at the right time.
For example, if you want to add a welcome message to the top of every post, you can use an action hook to tell WordPress exactly where and when to display that message.
Here’s a simple example:
function add_welcome_message() {
    echo 'Welcome to my blog!';
}
add_action('wp_head', 'add_welcome_message');
This code hooks the add_welcome_message function into the wp_head action, displaying the welcome message in the head section of your site.
Learn more about action hooks here.
What Are Filter Hooks?
Filter hooks are a bit like action hooks, but instead of adding something new, they allow you to modify existing content.
Let’s say you want to add a signature to the end of every post. You can use a filter hook to “filter” the content and add your signature.
Here’s an example:
function add_signature($content) {
    $signature = '<p>Thanks for reading! - Your Name</p>';
    return $content . $signature;
}
add_filter('the_content', 'add_signature');
This code hooks the add_signature function into the the_content filter, adding your signature to the end of each post.
Hooks allow you to interact with WordPress, adding or modifying content exactly where you want it.
Think of hooks as the strings on a puppet. By pulling the right strings (or using the right hooks), you can make WordPress dance to your tune.
Learn more about filter hooks here.
Step 4: Adding Shortcodes
Creating Custom Shortcodes
Shortcodes are like shortcuts in WordPress. They allow you to create complex functions and then use simple code to insert them into your posts or pages.
For example, you might create a shortcode that displays a beautiful photo gallery. Instead of writing complex HTML and PHP every time you want to add the gallery, you can simply use a shortcode like [my_gallery].
Here’s how you can create a custom shortcode:
function my_gallery_shortcode() {
    return '<div class="my-gallery">Your gallery code here</div>';
}
add_shortcode('my_gallery', 'my_gallery_shortcode');
This code defines a shortcode called my_gallery, which returns a div containing your gallery code.
Learn more about creating shortcodes here.
Using Shortcodes in Your Plugin
Once you’ve created a shortcode, you can use it anywhere on your site. Just type the shortcode into your post or page, and WordPress will replace it with the corresponding content.
For example, if you use the [my_gallery] shortcode in a post, WordPress will replace it with the content defined in the my_gallery_shortcode function.
Shortcodes make it easy to add complex features to your site without repeating code. They’re like reusable building blocks, allowing you to create beautiful and functional content easily.
The Flexibility of Shortcodes
Shortcodes are incredibly flexible. You can use them to create anything from simple text replacements to complex applications.
Want to add a contact form to your site? Create a shortcode. Need a custom calculator for your online store? Shortcodes can do that too.
Step 5: Managing Settings and Metadata
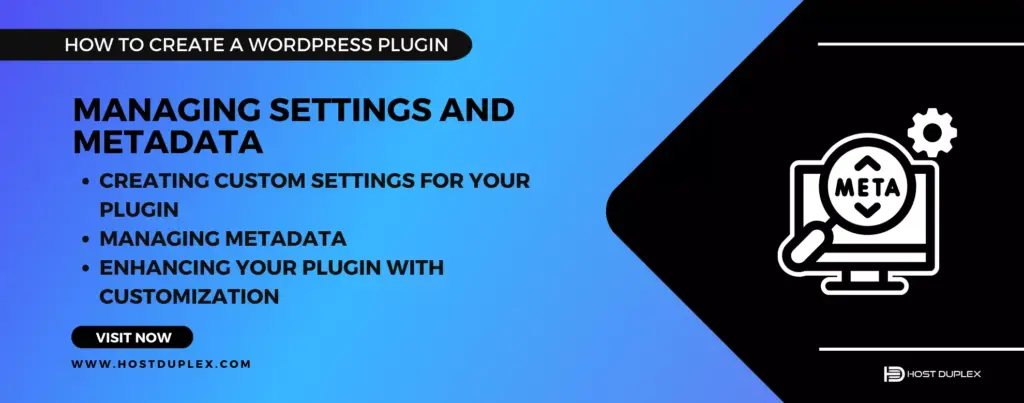
Creating Custom Settings for Your Plugin
As your plugin grows, you may want to give users the ability to customize its behavior. For example, you’ve created a weather widget plugin, and you want users to choose their location. You can create a settings page where users can enter their city, and your plugin will display the weather accordingly.
Here’s a simple example of how to add a settings page:
function weather_widget_settings() {
    add_menu_page('Weather Widget Settings', 'Weather Widget', 'manage_options', 'weather_widget', 'weather_widget_options');
}

function weather_widget_options() {
    echo '<div class="wrap"><h2>Your Weather Widget Settings</h2></div>';
}

add_action('admin_menu', 'weather_widget_settings');
This code adds a new page to the WordPress admin menu, where users can customize the weather widget.
Learn more about adding settings pages here.
Managing Metadata
Metadata is additional information related to your content. In the context of plugins, it can be used to store custom data related to posts, users, or other elements.
For example, if you have a real estate plugin that displays property listings, you might use metadata to store details like price, location, and number of bedrooms.
Here’s how you can add custom metadata to a post:
add_post_meta($post_id, 'price', '250000');
add_post_meta($post_id, 'location', 'New York');
add_post_meta($post_id, 'bedrooms', '3');
This code adds price, location, and bedroom metadata to a specific post.
Learn more about managing metadata here.
Enhancing Your Plugin with Customization
Custom settings and metadata add a layer of sophistication to your plugin. They allow users to tailor the plugin to their needs and provide a richer, more personalized experience.
Think of these features as the finishing touches on a well-crafted piece of furniture. They may not be necessary, but they add depth, functionality, and a touch of elegance.
Step 6: Security Considerations
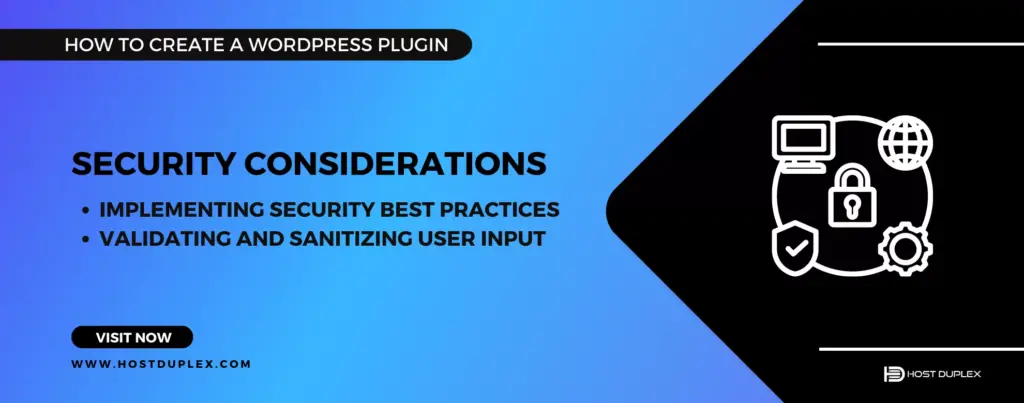
WordPress Security isn’t just a technical concern; it’s about trust. When users install your plugin, they trust you with their website. A security flaw can break that trust and cause real harm.
By following best practices and being mindful of security, you’re not just protecting your plugin but your users and their data. Remember, security isn’t a one-time thing. It’s an ongoing process that requires vigilance and care. Keep up to date with the latest security guidelines and always test your plugin for vulnerabilities.
Implementing Security Best Practices
When building a WordPress plugin, security is paramount. Here are some best practices to keep your plugin secure:
- Validate Input: Always check the data users enter into your plugin. If you’re expecting a number, make sure it’s a number. This helps prevent malicious code from sneaking into your site.
- Sanitize Output: Before displaying data from the database, make sure to clean it up. This helps prevent cross-site scripting (XSS) attacks.
- Use Nonces: Nonces are unique tokens that help protect URLs and forms from abuse. They ensure that the person using your plugin is the person you intended.
Learn more about WordPress security best practices here.
Example: Validating and Sanitizing User Input
Let’s say you have a plugin that allows users to submit their favorite color. You’ll want to make sure that the color they enter is a valid option.
Here’s how you might validate and sanitize the input:
$color = sanitize_text_field($_POST['color']);

if (in_array($color, array('red', 'blue', 'green'))) {
    update_option('favorite_color', $color);
} else {
    echo 'Invalid color selected!';
}
This code checks that the submitted color is one of the allowed options and then sanitizes the text to ensure it’s safe to use.
Step 7: Deploying Your Plugin Using FTP
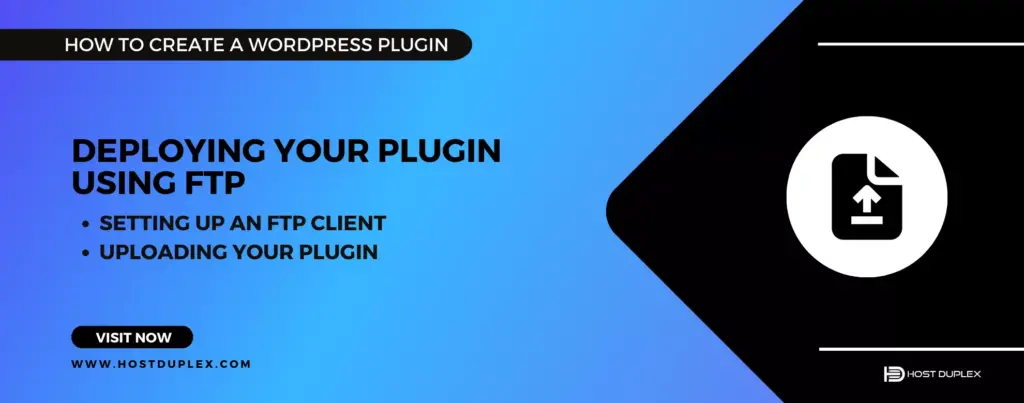
File Transfer Protocol (FTP) is a standard network protocol used to transfer files from a client to a server. In the context of WordPress, it’s often used to upload plugin files to a live website.
Setting Up an FTP Client
To use FTP, you’ll need an FTP client like FileZilla or Cyberduck. These tools allow you to connect to your web server and manage your files.
Here’s how to set up an FTP client:
- Download and Install: Choose an FTP client and download it to your computer.
- Connect to Your Server: Enter your server’s FTP address, your username, and your password.
- Navigate to the Plugins Directory: Once connected, navigate to the wp-content/plugins directory on your server.
Uploading Your Plugin
Once you’re connected to your server, you can upload your plugin files:
- Locate Your Plugin Files: Find the plugin files on your computer.
- Drag and Drop: Select the files and drag them into the plugin’s directory on your server.
- Activate the Plugin: Log in to your WordPress admin area and go to the Plugins page to activate your newly uploaded plugin.
Step 8: Testing Your Plugin

Testing in Different Environments
Testing your plugin is like taking it for a test drive. You want to make sure it runs smoothly, not just on your computer but on all the roads it might travel.
Here’s what you need to consider:
- Different Browsers: Test your plugin in various browsers like Chrome, Firefox, Safari, and Edge to ensure compatibility.
- Different Themes: Try your plugin with several themes to make sure it doesn’t conflict with common designs.
- Different WordPress Versions: Test your plugin with both the latest WordPress version and a few older ones to ensure broader compatibility.
Debugging Common Issues
Even the best developers encounter bugs. It’s not a sign of failure; it’s an opportunity to learn and improve.
Here are some common debugging tools:
- WP_DEBUG: This is a constant you can enable in your wp-config.php file. It will display any PHP errors, notices, or warnings.
- Query Monitor: This is a plugin that helps you analyze your database queries, hooks, conditionals, and more.
- Browser Developer Tools: Tools like Chrome DevTools can help you diagnose issues with JavaScript, CSS, and HTML.
Why Thorough Testing is Necessary?
Testing is the final quality check before sending your plugin out into the world. It’s your chance to catch any issues, make necessary adjustments, and ensure that your plugin is ready for prime time.
Testing isn’t just about finding bugs; it’s about understanding how your plugin behaves in different situations. It’s about building something robust, reliable, and user-friendly.
Remember, your plugin isn’t just code; it’s an experience. By testing it thoroughly, you’re making sure that it’s an experience worth having.
Step 9: Preparing for Distribution
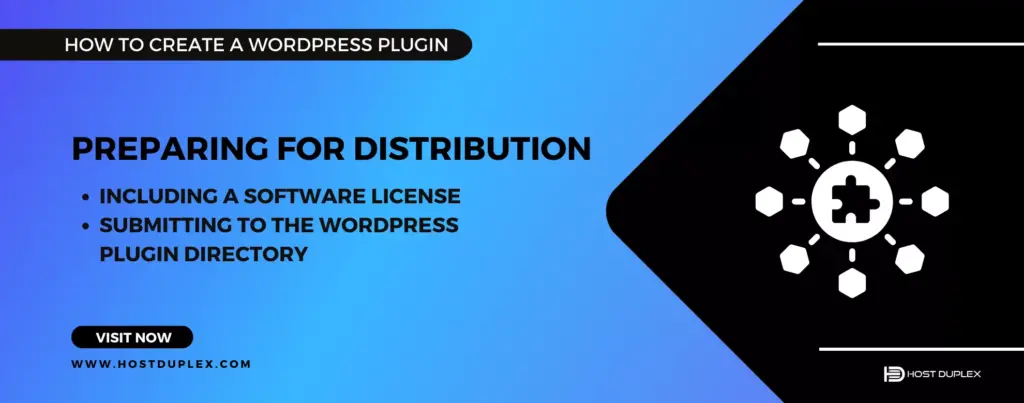
Including a Software License
Before you distribute your plugin, you’ll need to choose a license. This is like the rules of the road for your plugin, telling others how they can and can’t use it.
Most WordPress plugins are licensed under the GNU General Public License (GPL), which allows others to use, modify, and distribute your code, provided they follow the GPL’s terms.
Here’s an example of how you might include the license in your plugin:
/**
 * License: GPLv2 or later
 * License URI: http://www.gnu.org/licenses/gpl-2.0.html
 */
Submitting to the WordPress Plugin Directory
Once your plugin is ready, you might want to share it with the world. The WordPress Plugin Repository (WordPress plugin page) is the go-to place for free WordPress plugins. It’s like a public library for plugins, where users can find, download, and review your work.
Here’s how you can submit your plugin:
Create a Readme File
This file tells users what your plugin does, how to install it, and other essential information.
Prepare Your Plugin Files
Make sure your code is clean, well-documented, and follows the WordPress coding standards.
Submit Your Plugin
You’ll need to create an account on WordPress.org and submit your plugin for review.
Sum Up
Creating a custom WordPress plugin is more than just writing code; it’s a journey of discovery, creativity, and problem-solving. From the initial idea to the final product, you’ve navigated a path filled with challenges and triumphs.
Looking to take your plugin development to new heights? Consider our specialized WordPress hosting service. With state-of-the-art infrastructure, expert support, and a community of like-minded developers, we provide the perfect environment to nurture your creativity and bring your plugins to life.
The WordPress community is vast, vibrant, and always evolving. Countless resources, forums, and tutorials help you continue your development journey.
Keep learning, keep experimenting, and most importantly, keep creating. Your next plugin could change how people experience the web; it all starts with a single line of code.

How to Create a WordPress Plugin: The Best Guide (2023)