
From blogs to online stores, WordPress allows you to create any kind of website easily and for free. This article will guide you through using the WordPress dashboard (known colloquially as the WP-Admin area) for the first time and getting familiar with everything this powerful CMS has to offer.
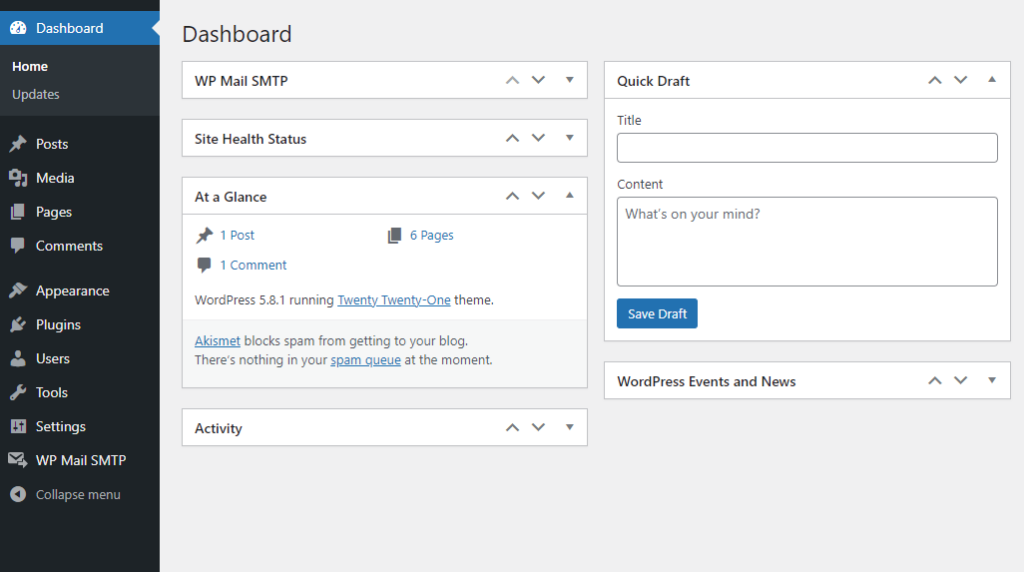
When you first log into your WordPress admin (WP-Admin) dashboard, you’ll see the main screen with widgets such as activity, quick draft, WordPress events and news, and at a glance. This screen gives you a general overview of your WordPress website.
To the left, we have the main navigation sidebar. This will help you access all other areas of your dashboard. On a clean installation, this is what it will look like. Many hosts, plugins and themes add additional menu items so yours may look different.
When you hover over menu items, most of them will show you a submenu. This will make navigation easier. We will go over the default items to better understand how to use the admin panel.
Posts
The Posts section is one of the first you’ll see on your sidebar. It is divided into other four menu items.

- All posts: Here you’ll see a list of all the posts currently on your website. You can filter posts by date and categories, as well as see published posts or drafts.
- Add new: Here you can create a new blog post. This is useful if you run a blog or if there’s a blog section within your website. To the right, you’ll see widgets that will help you see the current status of your post, as well as assign format, categories, tags and featured images to your entry.
- Categories: Here you’ll be able to create categories that can be assigned to your posts, pages and templates. You can then filter your lists based on these categories.
- Tags: Just like categories, tags can help you organize your content. Here you can create tags and give them each a slug and description.
Media
Below the Posts section, you’ll see Media. There are only two submenu items here.
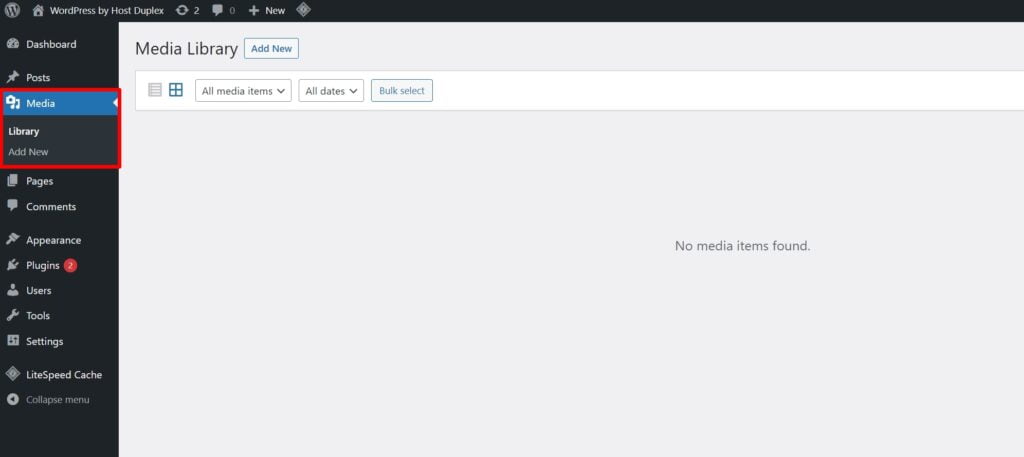
- Library: Here you’ll see all the media content you have uploaded to your website. You can filter them by type and upload date.
- Add new: Here you can add new media to your library.
Pages
This is where you can add and manage the pages for your website. On a fresh installation, you’ll see the default pages created by your theme.
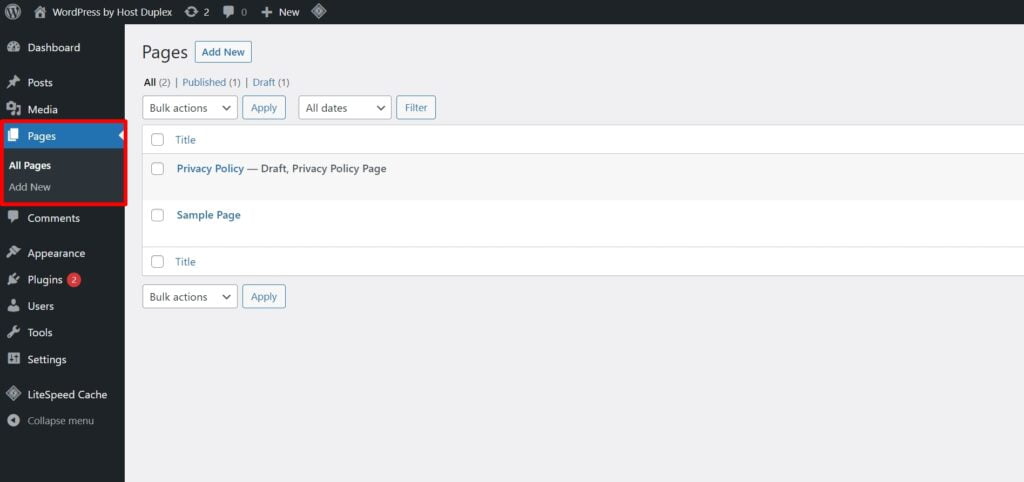
To add a new page, just click on the Add new submenu item. It will take you to the WordPress editor where you can begin creating your page.
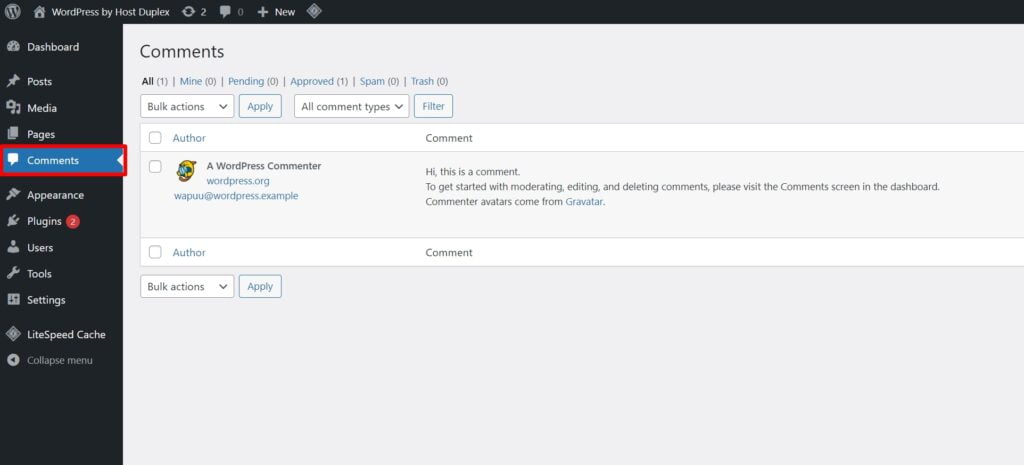
Comments
Here you can see a list of all the comments made on your website.
Appearance
Here you’ll see all customization options for your website.

- Themes: Here you’ll be able to see installed themes, as well as choose which one to use for your website. You can install more by clicking on the Add New button at the top, or the Add New theme widget at the end of the theme list.
- Customize: This will take you to the Customization panel. Here you’ll be able to change the style of your website with a live preview.
- Widgets: Here you’ll be able to modify the widget areas in your website.
- Menus: You can create and modify menus for your website here. WordPress allows you to insert pages, posts and categories as menu items. You can also create your own with custom links.
- Background: Here you can add a background image to your site.
- Theme editor: Here you can see theme files and edit them. If you plan on modifying this section, we advise doing a backup of your website or saving the previous code.
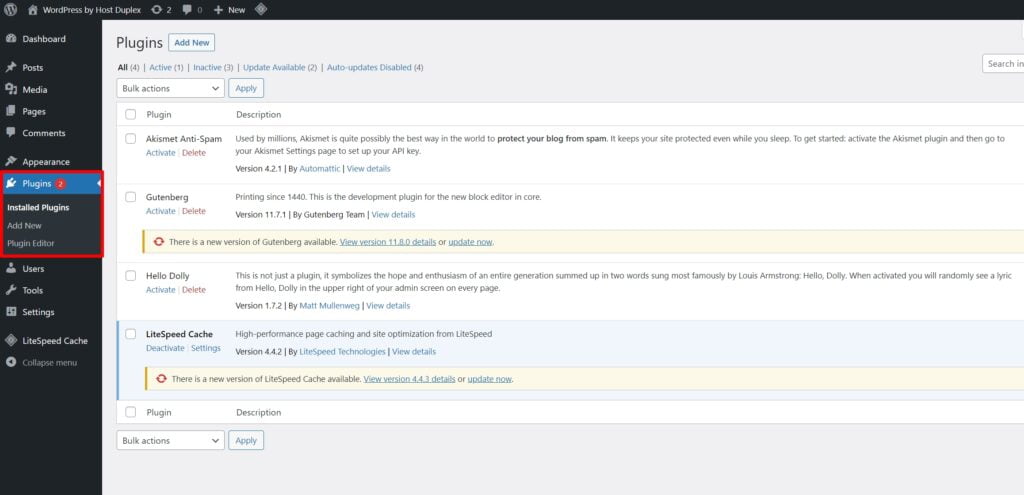
Plugins
WordPress has thousands of plugins available for free. Here you can see a list of the installed plugins, you can activate or deactivate them, as well as configure their settings. Add new will take you to the plugin library, and Edit plugins will let you make direct edits to your plugins.
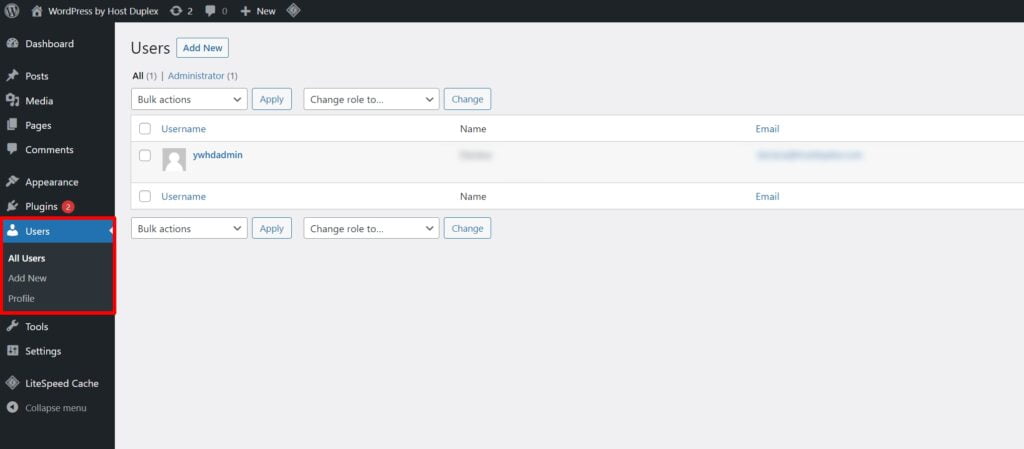
Users
In this section, you can add and manage users. You can add new administrators, contributors, authors, editors and subscribers, as well as change their roles.
WordPress Toolbar
The WordPress Toolbar is the small bar at the top of your screen. It is visible when browsing the admin panel as well as on the live version of your website if you’re logged in, which means you can use this to perform quick actions no matter where you are on your site. Visitors cannot see this bar.

If you want to disable it, you can do so by going to your profile on the Users section and unchecking the Toolbar option.
Great, now you understand how the admin panel works and what each section allows you to do. WordPress offers countless customization options that you can now explore on your own in order to create your website.