To begin installation of XenServer you’ll want download the latest Citrix XenServer Install CD, any supplemental packs, and XenCenter. You may have to login to download the ISO files. We recommend using PowerISO or any other burning utility that can verify your disc.
To install Citrix XenServer, there are a few requirements that must be met. Your server must include at least 2GB of RAM. The processor must be a minimum of 1.5GHz, and support virtualization (Intel® VT or AMD-V™ required for support of Windows guests). You may want to review the XenServer System Requirements. Our test machine for this how-to is a Dell PowerEdge 1950. Before installation begins, you should enable virtualization within your BIOS.
1. Begin by booting your computer and entering BIOS. On our machine that is the F2 key: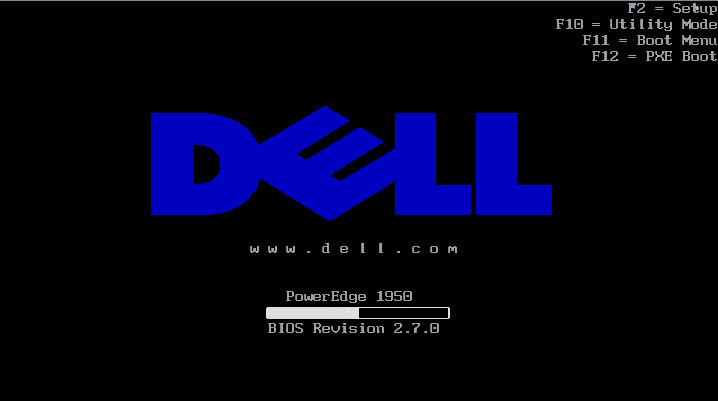
2. Move to the applicable category, CPU Information in our case: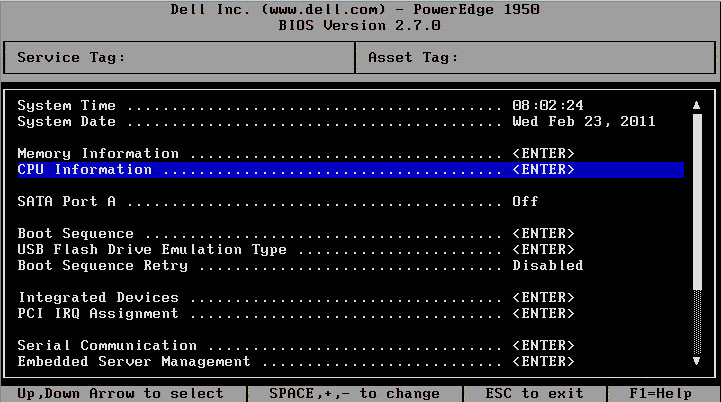
3. Enable Virtualization Technology: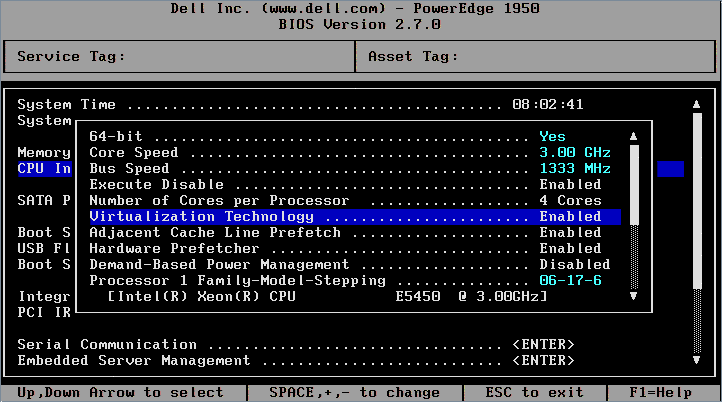
4. Save and Reboot. Ensure your disc in the drive and make sure you boot from your CD drive. If your server doesn’t have a cd/dvd drive, you may have to use an external drive.
When you boot from the CD, you should reach the XenServer installation screen. Press Enter once you reach the screen below to continue with installation.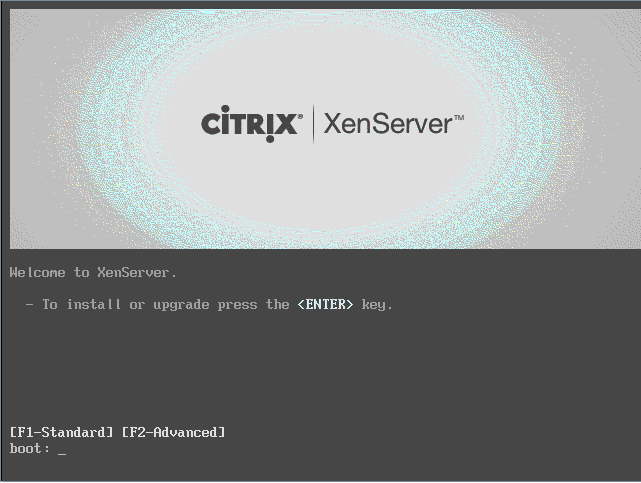
5. You should reach the screen asking you to choose your keymap. Choose your keyboard layout and continue… in our case, [qwerty] us
6. The next screen will ask if you need to load a device driver. Since we are using a Dell PERC card, it isn’t required in our case. Click OK and continue.
7. Read the EULA and continue
8. Choose the disk you would like to use for your Virtual Machine Storage and click OK to continue.
NOTE: If your drive/volume is larger than 2TB, then you will have to create a partition that is less than 2TB for the XenServer hypervisor. If you are using RAID 10 and a PERC card (as we have before), Dell’s PERC Configuration tool does not allow for 2 separate RAID 10 partitions. Since Dell’s PERC Card is a rebranded LSI card, you can create the 2 separate partitions using LSI’s MegaRAID software. If you are using a PERC 5/i or 6/i you can download it under the LSI MegaRAID SAS 8408E Adapter. or here: LSI MegaRAID Storage Manager for Windows 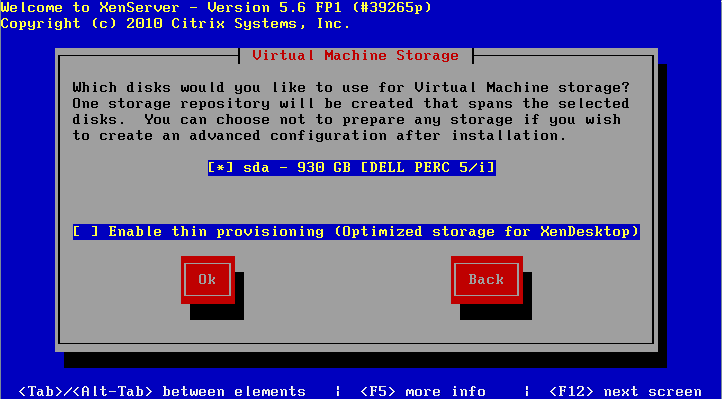
9. Choose your Installation Source. In our case, we are using a CD so we choose Local Media.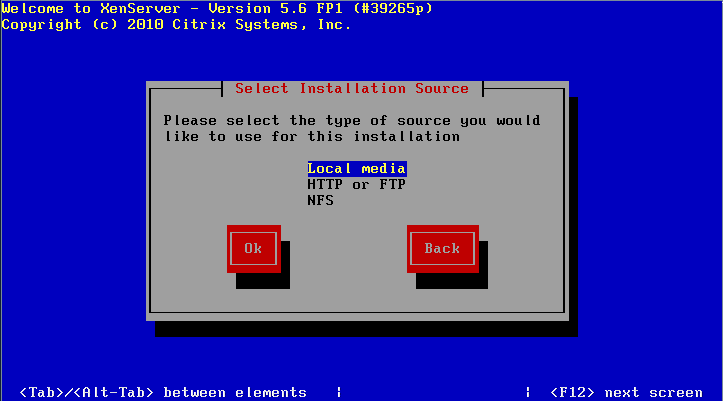
10. It will now ask you if you would like to install any supplemental packs. If you plan on installing any Linux VMs, it is a good idea to install the Linux Supplemental Packs. There are also other supplemental packs that you can install. For example, Dell has OpenManage software that can be and installed easily using the OpenManage supplemental pack. We will choose Yes at this screen since we are installing the Linux Supplemental Pack.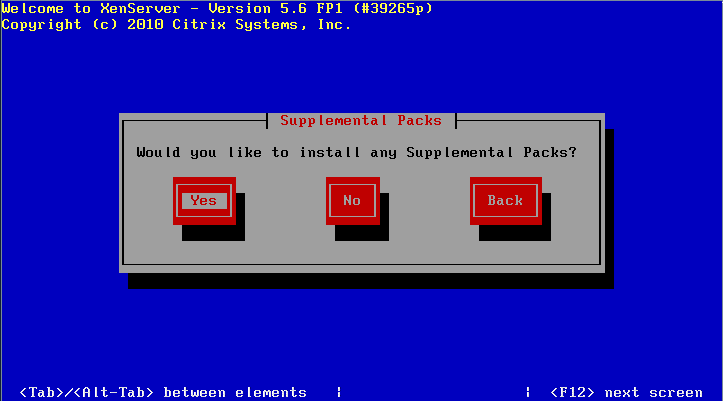
11. It now asks us to verify the installation source. This is highly recommended to ensure a proper install.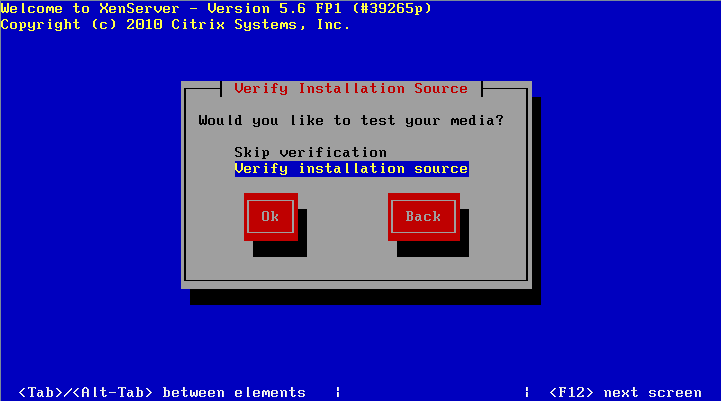
It will begin by verifying your XenServer installation disc:
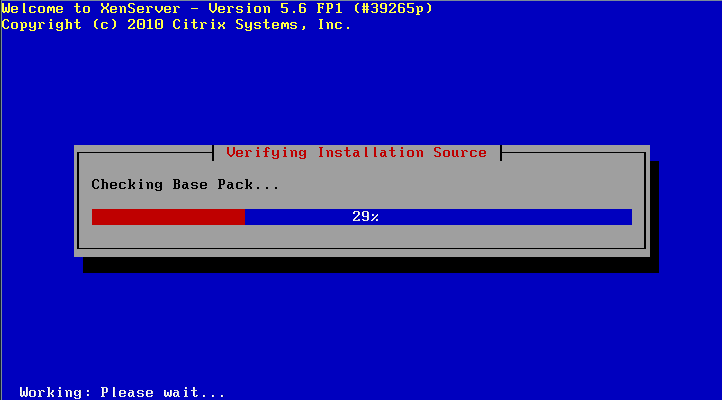 The next page will display if there were any issues with verification. If verification was successful you may continue, otherwise you may to try burning your disc again.
12. Choose a root password for your server. This is the password used when connecting to the XenServer host from XenCenter.
13. Choose which ethernet card you would like to designate for managing your server. Since our ethernet cord is plugged into the first ethernet port on our Dell server we will choose eth0. Eth1 shows no link because there is nothing connected to the second ethernet port on the server. Your server may only show one interface if you have only one card.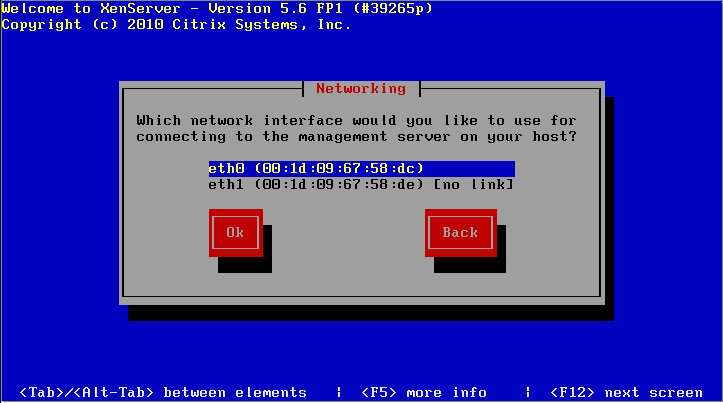
14. Choose DHCP or enter your Static IP information:
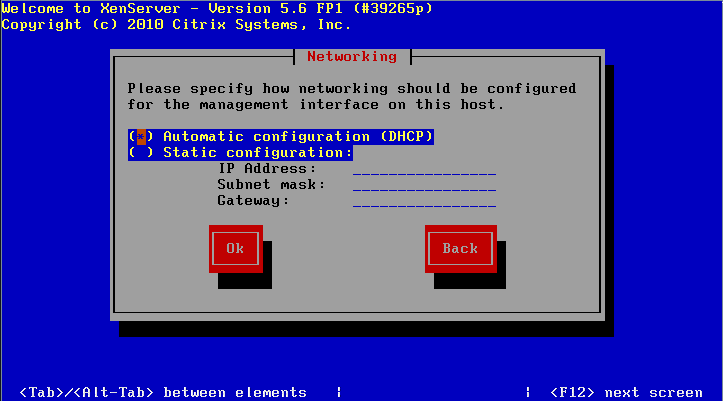
15. Continue by choosing a hostname. Unless you chose DHCP, you will also be asked to enter to your DNS Nameservers.
16. Choose the geographical area your server is in, and then select the City.
17. Next you will be asked to enter the time or choose an NTP server. I recommend using NTP. I recommend the following NTP servers:
time.nist.gov
time-b.nist.gov
time.windows.com
18. Install XenServer: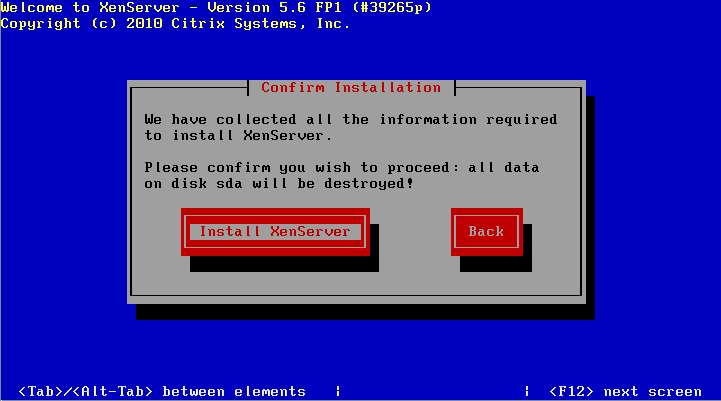
19. Now that the installation has completed, it asks for any supplemental packs. Now would be a good time to insert your Linux Supplemental pack and press OK:
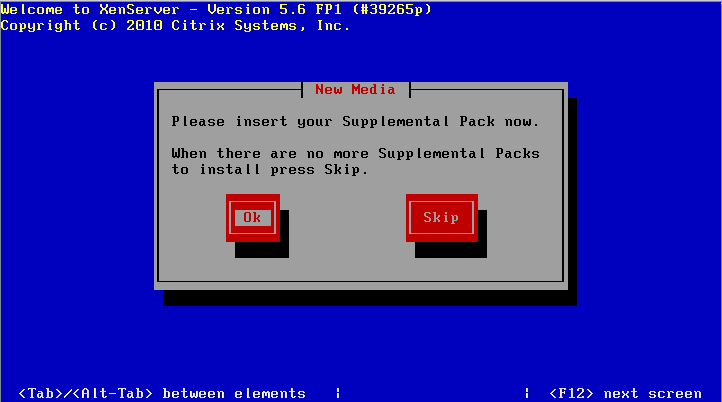
20. We recommend verifying your installation source in order to test the media. (It will provide the MD5 hashes once you click verify, go ahead and continue)
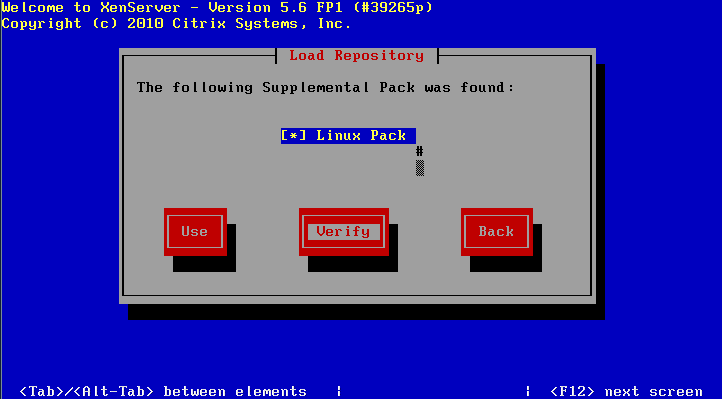
21. Once verification has completed, go ahead and Use the pack and install.
22. Once install has completed, you can choose to install more supplemental packs or select Skip and it will complete installation: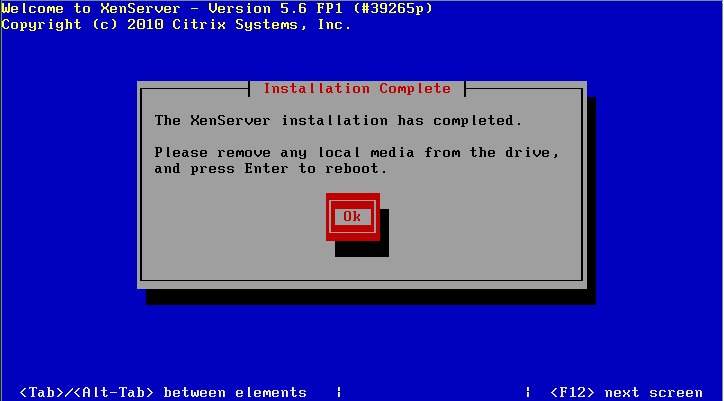
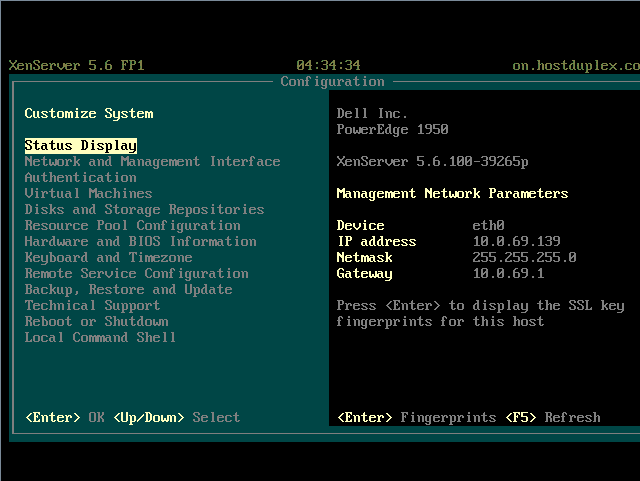
23. Once your server has booted you should reach the following screen:
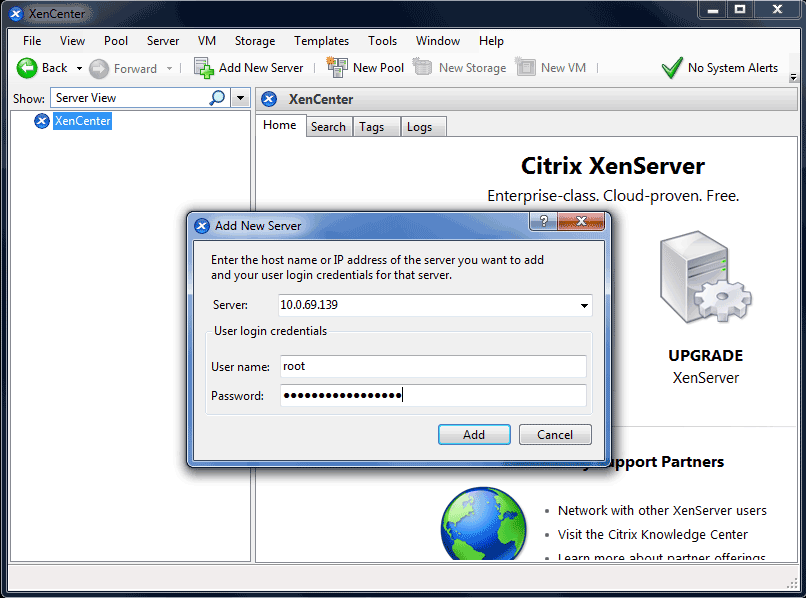
24. Open XenCenter on your desktop and Add your new server. Type in your server’s IP, Username: root and the password you chose.

How to Install XenServer